
My Cat's Ears Were Smelling Before They Were Red. Now I'm Not Sure What I Missed
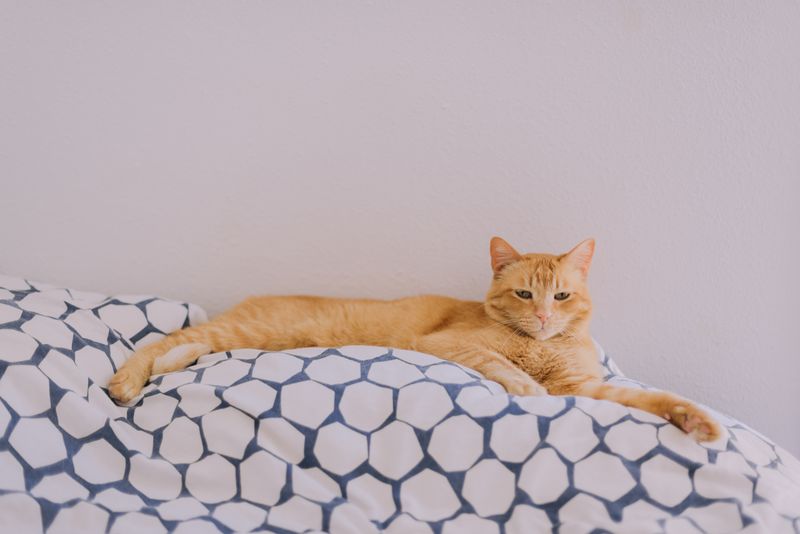
The first sign wasn't redness or scratching. It was the smell. Cleo climbed onto my chest one evening, tucked her face against my neck the way she always does, and I caught it (a sweet, yeasty, faintly sour odor coming off her ears. Not strong. Just wrong. I checked her ears, saw nothing dramatic, and filed it under "cats smell like cats." Two weeks later she was shaking her head hard enough to flutter her ear flaps and the canals had gone pink and angry.)
What unsettled me afterward was realizing the smell had shown up before the redness by nearly two weeks. I'd had a warning and I'd waved it off. The infection didn't come out of nowhere; it announced itself early, in a way I could have acted on and didn't.
Why This Happens
A cat's ear canal isn't a straight tube. It's shaped like a hook, a vertical channel that bends into a horizontal one, which makes it warm, dark, poorly ventilated, and hard to drain. That anatomy is a perfect home for the two things that cause most ear trouble: yeast and bacteria. When either one overgrows, the ear starts producing discharge, and the discharge is what smells. Odor is often the first symptom because the overgrowth has to be established before it becomes visually obvious or painful.
Ear mites are the other common culprit, especially in cats who go outside or live with other cats. Mites cause a dark, crumbly, coffee-ground discharge and relentless itching. Whether it's mites, yeast, or bacteria, the important point is the same: an ear problem that's allowed to settle in deep in that horizontal canal is much harder to clear than one caught in week one.
And here's the piece almost nobody talks about, the one that explains why ear problems keep coming back. The discharge doesn't stay in the ear. Your cat shakes her head and flicks wax and debris onto her bedding, her favorite chair, the carrier, the scratching post. That contaminated surface sits there, and even after you treat the ears, the same environment keeps reintroducing the problem. Treating the ear without cleaning the world around it is why so many cats end up with the same infection three months running.
What I Tried First — and Why It Didn't Work
My first instinct was a cotton swab, which I now know is the wrong tool. Cats' ears are delicate and the canal is deep, so swabbing just pushed debris further down and irritated the skin I was trying to calm. I got a little wax on the tip and a lot of resentment from Cleo.
Then I tried a home remedy I found online, a few drops of diluted vinegar in the ear. It made her yowl, and the next day the skin looked more inflamed than before. I had added a chemical insult to a canal that was already unhappy.
After that I mostly did nothing and hoped it would resolve, because it seemed minor. Cats are famously good at hiding discomfort, so "she seems fine" is not information. By the time I finally made the appointment, the infection had been brewing for well over two weeks.
What Actually Worked
The vet cleaned her ears properly and started her on a course of medicated drops, and that's the piece I'd tell anyone not to skip, an established infection needs actual treatment, not a home remedy. But the part that stopped the cycle of it coming back was everything I did to the surfaces around it. That turned out to be just as important as the drops, and I learned it the hard way.
Every piece of fabric Cleo slept on got washed, and I treated the soft surfaces she shook her head over with Nature's Miracle Dog Stain & Odor Remover, the enzymatic cleaner that actually breaks down the organic residue rather than just masking it with perfume. Blankets, the cat bed, the cushions on her chair, if her head had been there, it got the enzymatic treatment, because a deodorizing spray alone would have left the protein behind to keep feeding the problem.
For the hard surfaces, I pulled out the Zoo Med Wipe Out 1 disinfectant and went through her plastic carrier, the base of her cat tree, the food and water area, and the windowsill she bakes on all afternoon. Discharge and dander collect in those seams and corners, and a proper disinfectant wipes the surface clean instead of smearing organic film around the way a damp cloth does. I did a full pass once a week for a month, then every couple of weeks after.
I also built a new habit around her ears themselves. Once they were healed, I checked them weekly, one sniff, one quick look at the canal with a light, because I now know odor comes first. Any time they started smelling yeasty again, I called the vet early instead of waiting for the redness.
What I'd Tell Someone Starting Today
Trust your nose before you trust your eyes. If your cat's ears smell yeasty or sour, treat it as an early warning and get them checked, because the redness and head-shaking come later. Never poke a cotton swab into the canal and never pour vinegar or oil into an inflamed ear, those delay real treatment and can make it worse.
Then clean the whole environment, not just the cat. Wash the bedding, use an enzymatic cleaner on the soft surfaces she shakes her head over, and disinfect the hard surfaces, carriers, and perches. Cleo hasn't had a recurrence in eight months, and I'm convinced the surface routine is what broke the loop. The drops fixed her ear. The cleaning kept it fixed.
This post may contain affiliate links. If you buy through one of them, we earn a small commission at no extra cost to you.